
As you consider getting your first smartphone or upgrading to a newer model, you may feel overwhelmed by the sheer number of features and settings. This is especially true for seniors who are new to smartphones, as they often require specialized knowledge to navigate safely and effectively. Smartphones have become an essential tool for staying connected with loved ones, accessing important information, and managing daily tasks. However, without proper guidance, it can be difficult to set up and use a smartphone confidently. This step-by-step guide is designed specifically for seniors, covering the basics of setting up your phone, understanding its basic functions, and taking advantage of essential safety features to stay organized and connected. By the end of this tutorial, you’ll know exactly how to get started with your new smartphone and make the most out of its capabilities.
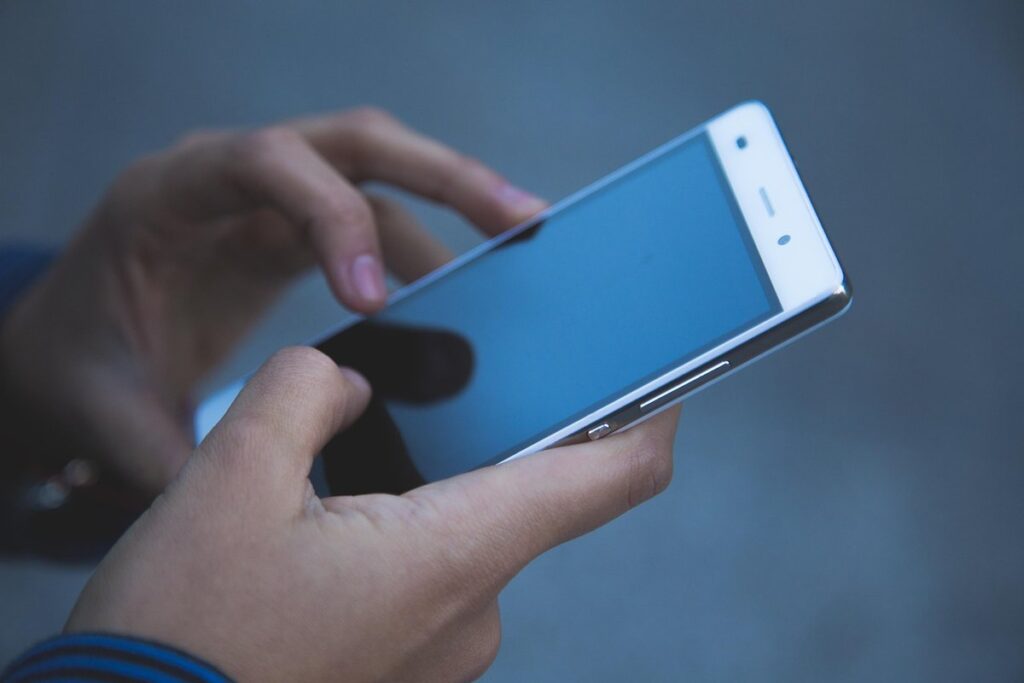
Understanding Your New Phone
Let’s start by understanding the basics of your new phone, including its hardware and software features, to help you get comfortable using it. This includes exploring the layout and controls of your device.
Choosing the Right Phone Type
When choosing a new smartphone, it’s essential to consider the type of phone that best suits your needs. Senior-friendly phones are designed with accessibility and simplicity in mind. Look for phones with large displays, typically 5-6 inches or larger, which make text and icons easier to read.
Some popular options include Jitterbug, Snapfon, and Doro phones, all of which offer senior-friendly features such as loud speakers, simple interfaces, and emergency response buttons. These phones also often come with accessibility features like screen reader functionality and button navigation, making it easier for seniors to use their phone without strain.
Other key considerations when choosing a smartphone include the operating system (Android or iOS) and storage capacity. Android phones tend to be more customizable, while iOS is generally user-friendly and secure. Storage capacity should also be considered; if you plan on storing many photos or apps, choose a phone with at least 32GB of internal storage.
It’s worth noting that some carriers offer senior-focused plans that bundle features like emergency response services and simplified billing. Be sure to ask your carrier about these options when selecting a new smartphone.
Setting Up Your New Phone
When setting up a new smartphone, you’ll want to transfer essential data from your old phone or device. Start by ensuring both devices are nearby and connected to power sources. Next, open the settings app on both phones and select “Transfer Data” or a similar option – this will initiate the pairing process.
On most Android devices, this involves using the Smart Switch feature, which allows you to transfer contacts, photos, music, and other data from an old phone to your new one. Simply follow the on-screen instructions, and the transfer will begin automatically.
For iPhones, use iTunes or the built-in Quick Start feature to transfer data. Connect both devices to a computer with iTunes installed, then select “Transfer or Update” when prompted. Alternatively, go to Settings > General > Reset > Erase All Content and Settings on your old iPhone, which will prepare it for transfer via the Quick Start feature.
When transferring photos, you can also use Google Photos or iCloud Photo Library to sync your images across devices.
Basic Phone Functions
When making a call, sending texts, or browsing apps, understanding your smartphone’s basic functions is essential to staying connected and organized. Let’s start by covering the fundamentals of making calls and sending messages.
Navigating the Home Screen
The home screen is where you’ll spend most of your time on your smartphone. It’s like a virtual desktop, displaying all the apps and features you need to access frequently. At the bottom of the screen, you’ll usually find four or five icons that can’t be moved: phone, messaging, internet browser, camera, and settings.
These icons are often called “quick launch” buttons because they give you instant access to these essential functions. For example, tapping on the phone icon will bring up your phone app, allowing you to make calls or send texts. You can also use this screen to quickly check your notifications by swiping down from the top.
In most cases, your home screen will be divided into two sections: a list of all your installed apps and a few featured apps at the bottom. You can scroll through the app list to find what you’re looking for or tap on an icon to open the app directly.
Using the Keyboard and Touchscreen
When typing on a touchscreen keyboard, it’s essential to use features like predictive text and autocorrect to make communication more efficient. Predictive text suggests words as you type, allowing you to choose from a list rather than relying solely on physical keyboards. This can be especially helpful for those with limited dexterity or difficulty pressing small keys.
Autocorrect also helps with error correction by automatically replacing misspelled words with the correct ones. While autocorrect isn’t foolproof, it significantly reduces typos and saves time in the long run. To use predictive text and autocorrect effectively:
- Make sure these features are enabled in your phone’s settings.
- Practice typing on your touchscreen keyboard to get a feel for how predictive text works.
- Don’t rely solely on autocorrect – proofread your messages before sending.
Another time-saving feature is gesture shortcuts, which allow you to quickly access frequently used functions like the camera or email app. To use gestures:
- Go to your phone’s settings and enable gesture shortcuts.
- Familiarize yourself with the different gestures, such as swiping up for recent apps or down for notifications.
- Use these gestures to streamline your interactions on the phone.
By mastering touchscreen keyboard features and gestures, you can communicate more efficiently and enjoy a smoother smartphone experience.
Staying Connected with Family and Friends
Now that you’ve got a smartphone, let’s explore how to stay connected with loved ones near and far using its various features. We’ll cover how to use video calls, messaging apps, and other tools to keep family and friends close.
Making Calls and Sending Messages
To make a call on your smartphone, tap the Phone app icon, usually found on the home screen. You’ll see two options: “Calls” and “Contacts.” Tap “Contacts” to choose a saved contact or enter their phone number manually. To send a text message, tap the Messages app icon, then select a conversation from the list or start a new one by entering a recipient’s name or phone number.
If you want to make a video call, look for apps like FaceTime (for Apple devices) or Skype in your installed apps list. Some messaging apps, such as WhatsApp and Facebook Messenger, also offer voice and video calling capabilities. To use these features, open the app and select a contact’s name from your contacts list or start a new conversation by entering their phone number.
When using messaging apps, you can send texts, photos, videos, and other files to recipients. Be aware that some apps may require you to create an account or log in before sending messages. To save time and effort, consider pinning frequently used apps, including the Phone and Messages apps, to your home screen for easy access.
Using Social Media and Video Calling Apps
To stay connected with loved ones using social media and video calling apps, start by choosing a platform you’re familiar with or want to try. Facebook and Instagram are great options for seniors, as they offer simple interfaces and a wide range of features. To create an account on either app, open the app, tap “Create New Account,” and follow the prompts.
Once you’ve set up your account, you can upload photos and videos by tapping the “+” icon at the top right corner of the screen. This will allow you to share updates with family and friends. To make video calls, look for the “Video Call” or “Make a Video Call” option within each app. You’ll need a stable internet connection and a compatible device for this feature.
Some popular social media and video calling apps include Facebook, Instagram, WhatsApp, and Skype. When using these apps, be mindful of your online safety by keeping your account settings private and not sharing personal information with strangers. Practice makes perfect – don’t be discouraged if you encounter some technical difficulties at first.
Safety and Security Features
Let’s talk about keeping you safe online. Your smartphone comes equipped with several features designed to protect your personal data, so let’s explore some of these security measures together.
Setting Up a Lock Screen and Password
To set up a lock screen and password on your smartphone, follow these steps. First, go to Settings > Security & Lock Screen (or a similar option). On most devices, you’ll see options for PIN, pattern, or password protection. Choose the one that suits you best.
For a password, tap “Password” and enter a new password when prompted. Make sure it’s strong and unique – ideally using uppercase and lowercase letters, numbers, and special characters. You can also set up fingerprint recognition if your device has this feature. Tap “Fingerprint” and follow the on-screen instructions to register your fingerprints.
It’s essential to choose a lock screen method that you’re comfortable with and will use consistently. Some devices allow you to set up multiple lock screens for different situations, such as when using public Wi-Fi or at home. Experiment with different options until you find one that works for you.
Remember to never share your password or fingerprint data with anyone – it’s private information that should only be known by you. With a secure lock screen in place, you can enjoy greater peace of mind while using your smartphone.
Using Built-In Antivirus Software
Most smartphones come equipped with built-in antivirus software to protect against malware and viruses. This feature is usually turned off by default, so you’ll need to enable it to start scanning for threats. To access the antivirus settings, go to Settings > Security or Settings > Lock screen and security (depending on your phone’s make and model). Look for an option labeled “Scan device” or “Virus scan.” Tap this option to initiate a full system scan.
During the scan, you may be prompted to download additional software or updates. Allow these to install if you’re asked. The scan will identify any potential threats and provide recommendations for removal. Follow the on-screen instructions to remove any malware or viruses found.
Some phones also offer real-time scanning, which continuously monitors your device for suspicious activity. Check your phone’s settings to see if this feature is available. If it is, consider enabling it for added protection. Remember that built-in antivirus software can only protect you from threats that are known to the manufacturer. It won’t catch every single malicious app or file. As with any security measure, it’s essential to stay informed and keep your phone’s operating system and apps up to date to minimize vulnerability to malware and viruses.
Managing Your Digital Life
To stay organized and avoid digital clutter, let’s focus on setting up a system for managing your phone’s home screen, apps, and notifications effectively. This will help you feel more in control of your smartphone usage.
Organizing Photos and Videos
When it comes to storing photos and videos on your smartphone, cloud storage services can be a game-changer. These services allow you to upload your media files to remote servers, freeing up space on your device. Google Drive and iCloud are two popular options that integrate seamlessly with most smartphones.
To get started with cloud storage, first, ensure your phone is connected to Wi-Fi. Then, download the relevant app from the App Store or Google Play. Follow the prompts to sign in or create an account. Once set up, you can upload photos and videos directly from your camera roll or by importing them manually.
It’s essential to note that cloud storage services offer varying levels of storage capacity. For instance, Google Drive offers 15GB of free storage, which should be sufficient for most users. However, if you have a large collection of high-quality photos, consider upgrading to a paid plan or exploring other options like OneDrive or Dropbox.
When organizing your media files in the cloud, take advantage of the folder and album features to categorize and tag your content. This will make it easier to find specific photos and videos later on.
Using Calendar and Reminder Apps
To stay organized and keep track of appointments and tasks, you’ll want to set up a calendar and reminder app on your smartphone. Let’s start with calendars: most phones come pre-installed with Google Calendar or the native Calendar app. You can also download third-party apps like Apple Calendar (for iPhones) or Microsoft Outlook (for both iOS and Android). Choose one that suits your needs.
When setting up your calendar, make sure to add all your important dates, such as birthdays, anniversaries, and appointments with doctors or family members. You can also set recurring events for regular tasks like medication reminders or weekly exercise sessions. To keep things simple, start by entering your existing paper-based schedule into the app.
For reminders, you can use the built-in Reminder app on your phone or download a separate app like Any.do or Todoist. Set reminders for upcoming events and tasks by entering the date, time, and any additional details. You can also set recurring reminders to remind you of regular tasks. To avoid cluttering your calendar with too many notifications, limit the number of reminders per day to only what’s essential.
Advanced Features and Tips
Now that you’ve mastered the basics, let’s explore some advanced features and tips to help you get the most out of your smartphone.
Using Mobile Payment Systems
To use mobile payment systems like Apple Pay or Google Wallet on your smartphone, you’ll need to set them up first. This typically involves adding a debit or credit card to your account through the app. For example, with Apple Pay, you can add your card information by taking a photo of it or manually entering the details.
Once you’ve added a payment method, you’re ready to make transactions. To use Apple Pay on an iPhone, for instance, you simply need to hold the device near a contactless payment terminal and authenticate the transaction with Face ID or Touch ID. Google Wallet works similarly, but also allows you to add loyalty cards and other types of passes.
It’s essential to keep your mobile payment accounts secure by regularly reviewing your transactions and updating your account information as needed. Many banks and credit card companies offer their own branded mobile payment systems that may integrate with these popular services.
Before making a purchase with your mobile payment system, check the terminal for compatibility – some older devices might not support contactless payments. You can also ask the merchant if they accept your preferred method.
Customizing Your Home Screen and Notifications
To make your home screen more intuitive and user-friendly, you can customize its layout to fit your needs. Start by tapping and holding on a widget or icon until it begins to wiggle. This will allow you to drag it to a new location on the screen or remove it altogether. You can also add widgets to provide quick access to information such as weather forecasts, news headlines, or calendar events.
To set up widgets, go to the home screen and look for the “+” icon in the top-right corner. Tap this to open the widget gallery, where you can browse through various options. Some popular choices include a clock, calendar, or weather widget. Choose one that interests you and follow the on-screen instructions to set it up.
When it comes to managing notifications, consider setting them to appear only for important events like texts from family members or alerts from your bank. You can also turn off notifications for less critical apps or silence them altogether during certain times of the day. To do this, go to Settings > Notifications and look for the individual app settings. From here, you can customize how each app interacts with your phone’s notification system.
Frequently Asked Questions
Can I Switch Back to My Old Phone If I Don’t Like My New One?
Yes, it’s usually possible to return or exchange your new phone within a certain timeframe, depending on the retailer and manufacturer. Check the return policy before setting up your new phone.
How Do I Keep My Personal Data Safe When Using Mobile Payment Systems?
When using mobile payment systems like Apple Pay or Google Wallet, make sure to set up a strong password and keep your device’s operating system and security software up to date. Also, be cautious when sharing financial information online and monitor your accounts regularly for suspicious activity.
What If I Accidentally Delete Important Photos or Contacts from My Phone?
Don’t worry, most smartphones allow you to recover deleted data from the recycle bin or cloud storage services like Google Drive or iCloud. Regularly back up your important files and contacts to prevent losing them forever.
Can I Use My Smartphone’s Built-In Camera to Scan Documents Instead of a Dedicated Scanner?
Yes, many modern smartphones have high-quality cameras that can scan documents with good results. You can use the camera app to capture images of documents, then save or share them as needed.